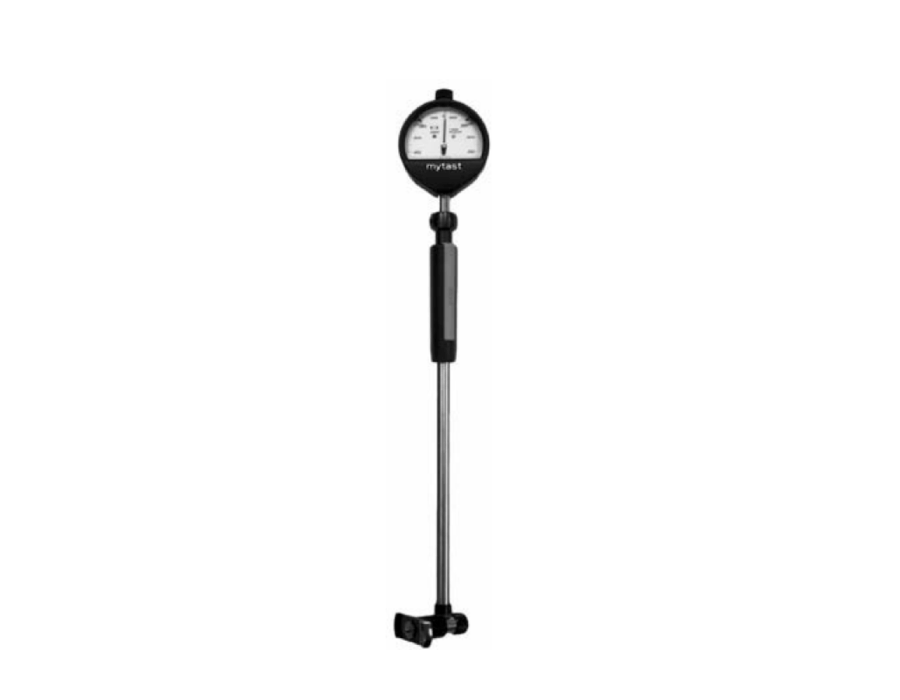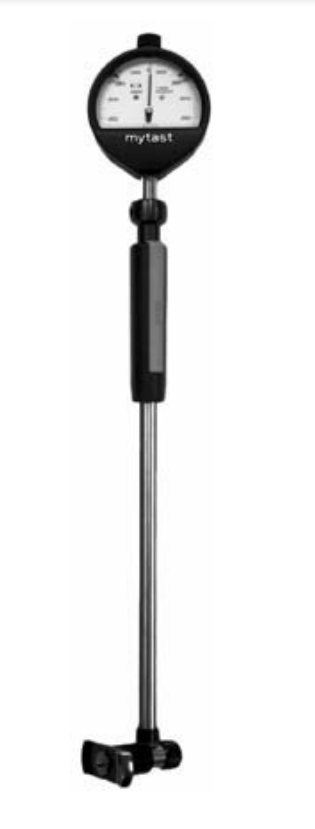
Maximum Measuring Accuracy
Linear ≤ ±0.000040″ (0.001 mm)
Repeatability ≤ 0.000010″ (0.00025 mm)
Gage R & R capability ≤10%
Measuring high tolerance 0.0003″ (0.008 mm)
Best in Gage R & R performance with an impressive ≤ 10% capability, even during high tolerance applications and when measuring small and large bores.
Gage measuring pin and interchangeable contact pins come standard carbide ball tips. Also available in ruby, chrome, teflon. Please contact Dyer Applications engineers with your specific requirements.
Gage is used as a comparative instrument. Ideally the gage should be set with master rings but it can also be set with a universal setting device.
Gage handle is made of invar steel with special nickel alloy that does not allow heat generated by operators hand or environment temperatures to affect the measurement result.
Gage handle accepts 3/8″ and/or 8mm diameter stem dial and digital indicators. Interchangeable brass bushings are included with each gage.
Each gage comes with the corresponding measuring pins, spacers washers, and the necessary wrenches in a wooden box. Indicator must be ordered separately.
Special 220 Series gages are available for measuring parallel distances, Right angle bores, hard to reach blind bores and groove diameters.
Dyer’s 220 Series is a rugged two point contact measuring instrument that can be used on the shop floor or in the inspection lab.
These gages offer flexibility to measure various bore diameters starting from 0.18″ up to 31.5″ (4.5 – 800mm). Many sizes can be measured with one gage.
Gage is a tipping style instrument. It is necessary to determine the minimum reading (reversal point) by rocking the gage while pivoting on the fixed measuring pin. When the gage axis is perfectly vertical to the bore axis, this can be attained. It is clearly found through the direction change of the pointer when using a dial indicator. A digital indicator can also be used, but we recommend one that would trap the min value.
Gages offer the highest accuracy and repeatability due to the patented high precision deviation element that transfers movement seamlessly from one axis to another.
The specially designed centering base allows the gage to be centered radially inside the bore. Each gage measuring range is determined by the width of the centering base.
Gage offers three point centering while utilizing a two point measuring system. This two point system allows you to find different conditions inside the bore like ovality, taper, and out of round.
Centering base is hardened Rc 65 and polished. It is also available with special coatings like chrome, teflon, etc.

The heart of our linear and repeat accuracy is a specially designed segment
This radially-machined high-strength steel segment is accurately guided in a circular arc. It transfers the movement of the measuring contact point directly to a precision indicating unit.
This direct transfer and resulting accuracy, repeatability and reproducibility is exclusive to our bore gage design.

Special design segment for transfer of contact movement to indicator
Transfer system in measuring head