Maximum Measuring Accuracy
Linear ±0.000040″ (0.001 mm)
Repeatability ±0.000010″ (0.00025 mm)
Gage R & R capability <10% measuring high tolerance bores.
MEASURE I.D.’S FROM 1.97″ – 31.5″ (50 mm – 800.00 mm)
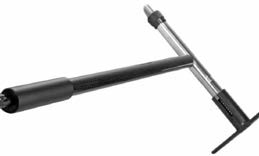
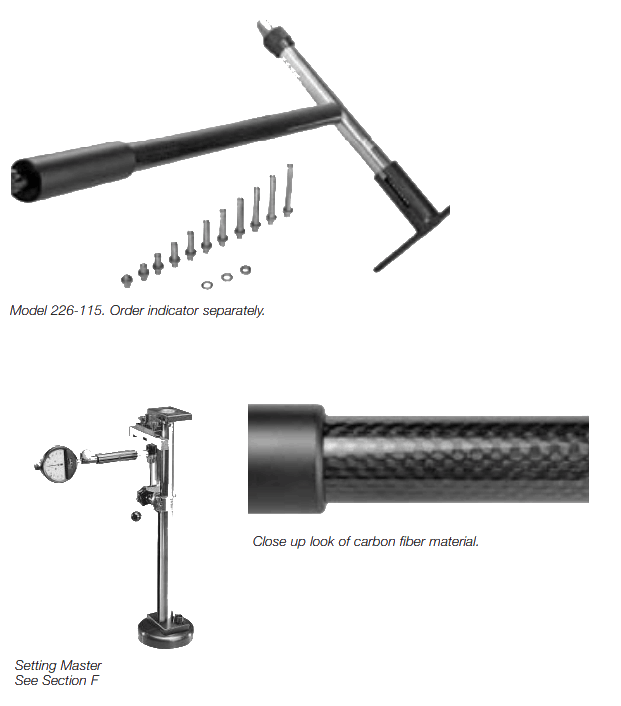
Measuring head is accompanied by 24mm Ø carbon fiber interchangeable extensions to reach desired measuring depth.
75% less weight than 225 Model while still maintaining rigidity.
Lighter gage with extensions translates to smaller storage box, which makes it easier to ship and to store.
Gages have large chrome plates selfcentering base Rc65 and carbide ball contacts.
Inch/Metric. Convert by changing dial indicator.
Sealed construction for use under dirty and oily conditions.
Special ranges or longer measuring depths quoted on request.

| Specifications | Order No. with Meas.
Depth (MT) of 19.7″ (500 mm) |
Order No. with Meas.
Depth (MT) of 39.4″ (1000 mm) |
Order No. with Meas.
Depth (MT) of 59.1″ (1500 mm) |
Order No. with Meas.
Depth (MT) of 78.7″ (2000 mm) |
|||
| Range Inch | Range mm | Z1 | Max. Travel
Contact Point |
||||
| 1.97–3.94 | 50–100 | 1.77″ | 0.051″ | 226-080 | 226-210 | 226-305 | 226-345 |
| 1.97–5.91 | 50–150 | 1.77″ | Var. | 226-085 | 226-215 | 226-310 | 226-350 |
| 3.94–6.30 | 100–160 | 2.95″ | 0.063″ | 226-095 | 226-225 | 226-315 | 226-355 |
| 6.30–11.41 | 160–290 | 4.72″ | 0.063″ | 226-105 | 226-235 | 226-320 | 226-360 |
| 11.02–16.14 | 280–410 | 5.91″ | 0.102″ | 226-110 | 226-240 | 226-325 | 226-365 |
| 11.02–20.08 | 280–510 | 5.91″ | 0.102″ | 226-115 | 226-245 | 226-330 | 226-370 |
| 15.75–31.50 | 400–800 | 11.81″ | 0.102″ | — | 226-250 | 226-335 | 226-375 |