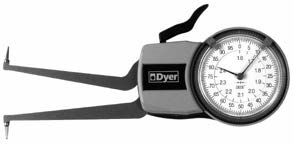
Maximum Measuring Accuracy
Linear Accuracy at 0.100″ Travel
± 0.0005″ (0.010 mm)
Full Range ± 0.001″ (± 0.020 mm)
Repeatability ≤ 0.0005″ (0.010 mm)

Fast service on special ranges, arms and ball contacts
Notable Features
Easy to use; the gage arms retract to enter the smaller bore, then open into groove diameter.
Direct reading.
Fast, accurate, repeatable measurements.
Large, easy-to-read graduations, gage uses a 2-pointer system.

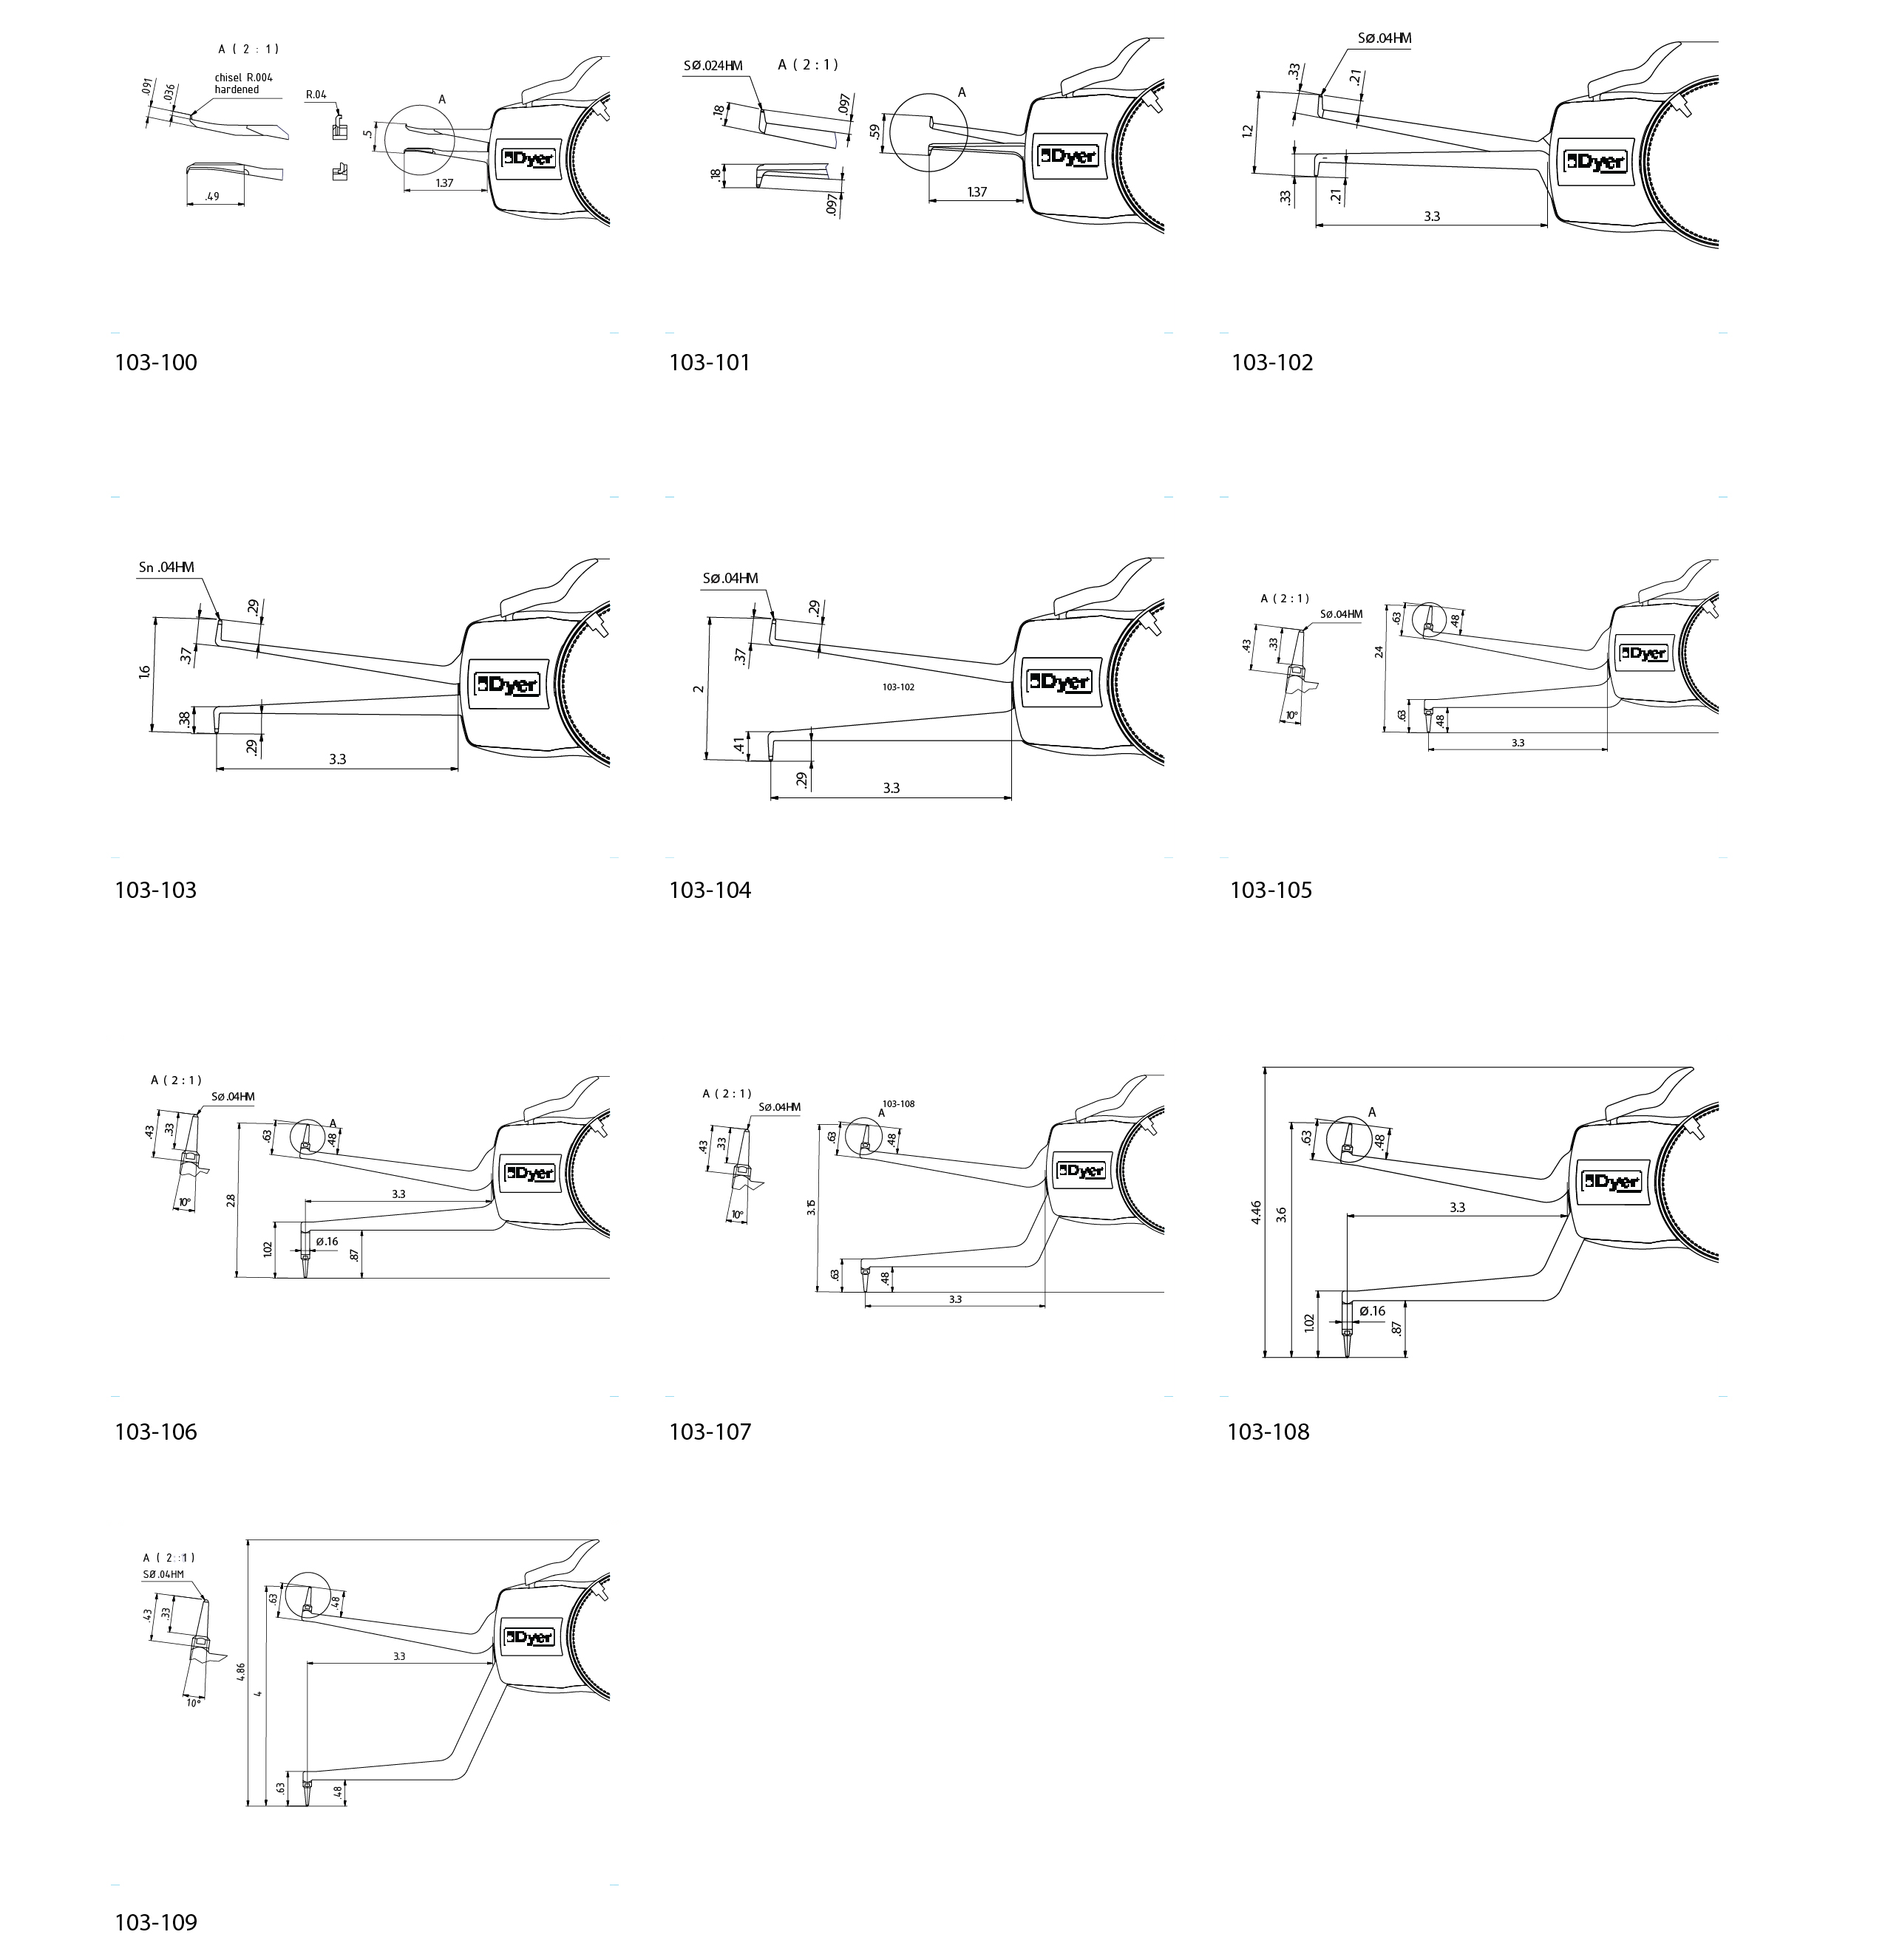
103 Series Standard Specifications
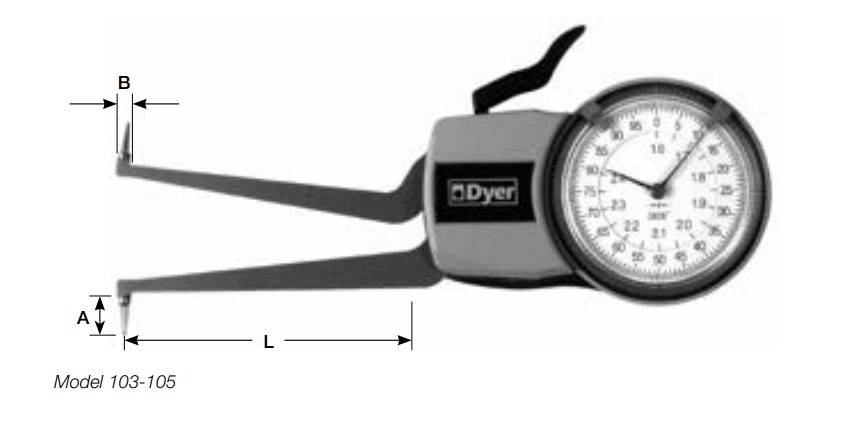
| Range | L Dim Reach of Arms | A Dim Max Depth Groove | Contact Angle | Contact Tip Radius | Graduation | Order
Number |
| Inch Specifications | ||||||
| 0.8″–1.6″ | 3.15″ | 0.20″ | 45° | SR 0.01″ | 0.0005″ | 103-303 |
| 1.2″–2.0″ | 3.15″ | 0.20″ | 45° | SR 0.01″ | 0.0005″ | 103-304 |
| 1.6″–2.4″ | 3.15″ | 0.20″ | 45° | SR 0.01″ | 0.0005″ | 103-305 |
| 2.0″–2.8″ | 3.15″ | 0.20″ | 45° | SR 0.01″ | 0.0005″ | 103-306 |
| 2.4″–3.2″ | 3.15″ | 0.20″ | 45° | SR 0.01″ | 0.0005″ | 103-307 |
| 2.8″–3.6″ | 3.15″ | 0.20″ | 45° | SR 0.01″ | 0.0005″ | 103-308 |
| 3.2″–4.0″ | 3.15″ | 0.20″ | 45° | SR 0.01″ | 0.0005″ | 103-309 |
| Metric Specifications | ||||||
| 20–40 mm | 85 mm | 5 mm | 45° | SR 0.2 mm | 0.010 mm | 103-403 |
| 30–50 mm | 85 mm | 5 mm | 45° | SR 0.2 mm | 0.010 mm | 103-404 |
| 40–60 mm | 85 mm | 5 mm | 45° | SR 0.2 mm | 0.010 mm | 103-405 |
| 50–70 mm | 85 mm | 5 mm | 45° | SR 0.2 mm | 0.010 mm | 103-406 |
| 60–80 mm | 85 mm | 5 mm | 45° | SR 0.2 mm | 0.010 mm | 103-407 |
| 70–90 mm | 85 mm | 5 mm | 45° | SR 0.2 mm | 0.010 mm | 103-408 |
| 80–100 mm | 85 mm | 5 mm | 45° | SR 0.2 mm | 0.010 mm | 103-409 |