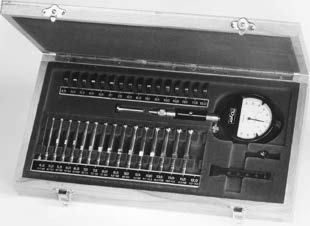
Maximum Measuring Accuracy
Linear ±0.000040″ (0.001 mm)
Repeatability ±0.000040″ (0.001 mm)
*50% better accuracy than shown can be obtained by using Bench Stand
We offer choices when ordering 200 Series sets
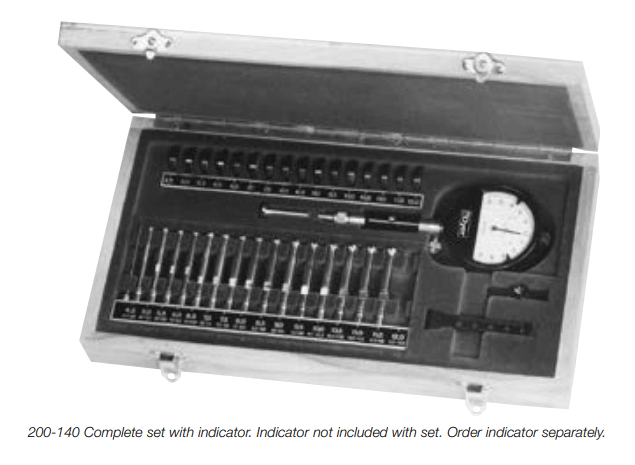
Sets are available with or without pushbutton holder. The push-button holder extends life of the measuring probe. It retracts the outward pressure of the contact points, limiting friction, allowing the entering and exiting of the bore to be smooth and effortless. These gages are operator-friendly, and easy to use.
Special Sets
We offer sets with in-between ranges and longer (deeper reaching probes). Contact Dyer with your special needs.
Select a Standard Set
When ordering choose between sets with or without ring gages, push-button holder, chrome or carbide. Dial indicator, see Section E, are optional. Just select the model numbers you want and place the order along with the set.
1. Select the set style: thru or blind; with or without ring.
2. Indicator.

Thru Bore Design – Complete Sets
| Effective Measuring Range | Depth Range Inch | No. of Probes | Order No
Chrome w/o Rings |
Order No
Chrome w/ Rings |
Order No
Carbide w/o Rings |
Order No
Carbide w/ Rings |
|
| Inch | mm | ||||||
| Holder With Retraction | |||||||
| 0.0374–0.0610 | 0.95–1.55 | 0.512 | 5 | 200-005 | 200-105 | 200-205 | 200-305 |
| 0.0590–0.1654 | 1.5–4.2 | 0.669–0.984 | 10 | 200-110 | 200-110 | 200-210 | 200-310 |
| 0.0374–0.1654 | 0.95–4.2 | 0.512–0.984 | 15 | 200-015 | 200-115 | 200-215 | 200-315 |
| 0.1634–0.3071 | 4.15–7.8 | 1.614–1.772 | 7 | 200-031 | 200-131 | 200-231 | 200-331 |
| 0.1634–0.4921 | 4.15–12.5 | 1.614–2.677 | 13 | 200-040 | 200-140 | 200-240 | 200-340 |
| 0.3031–0.4921 | 7.7–12.5 | 1.772 | 6 | 200-046 | 200-146 | 200-246 | 200-346 |
| 0.4803–0.8110 | 12.2–20.6 | 2.677 | 8 | 200-055 | 200-155 | 200-255 | 200-355 |
| Holder Without Retraction | |||||||
| 0.0374–0.0610 | 0.95–1.55 | 0.512 | 5 | – | – | 200-605 | 200-705 |
| 0.0590–0.1654 | 1.5–4.2 | 0.669–0.984 | 10 | – | – | 200-610 | 200-710 |
| 0.0374–0.1654 | 0.95–4.2 | 0.512–0.984 | 15 | – | – | 200-615 | 200-715 |
| 0.1634–0.3071 | 4.15–7.8 | 1.614–1.772 | 7 | 200-431 | 200-531 | 200-631 | 200-731 |
| 0.1634–0.4921 | 4.15–12.5 | 1.614–2.677 | 13 | 200-440 | 200-540 | 200-640 | 200-740 |
| 0.3031–0.4921 | 7.7–12.5 | 1.772 | 9 | 200-446 | 200-546 | 200-646 | 200-746 |
| 0.4803–0.8110 | 12.2–20.6 | 2.677 | 8 | 200-455 | 200-555 | 200-655 | 200-755 |
Blind Hole Bore Design – Complete Sets
| Effective Measuring Range | Depth Range Inch | No. of Probes | Order No
Chrome w/o Rings |
Order No
Chrome w/ Rings |
Order No
Carbide w/o Rings |
Order No
Carbide w/ Rings |
|
| Inch | mm | ||||||
| Holder With Retraction | |||||||
| 0.059–0.165 | 1.50–4.20 | 0.669–0.984 | 10 | – | – | 205-300 | 205-400 |
| 0.163–0.307 | 4.15–7.80 | 1.614–1.772 | 7 | 205-100 | 205-200 | – | – |
| 0.303–0.492 | 7.70–12.50 | 1.772 | 6 | 205-105 | 205-205 | – | – |
| 0.163–0.492 | 4.15–12.50 | 1.614–1.772 | 13 | 205-110 | 205-210 | – | – |
| 0.480–0.811 | 12.20–20.60 | 2.677 | 8 | 205-115 | 205-215 | – | – |