Maximum Measuring Accuracy
Linear ≤ ±0.000040″ (0.001 mm)
Repeatability ≤±0.000010″ (0.00025 mm)
Gage R & R capability ≤10% when
measuring high accuracy parts.
Notable Features
Accuracy and range.
2 spring-loaded, retractable, selfcentering bases align gage in part.
Rugged 24/7 gages designed for production use.
Customized standards. Contact Dyer with your application.
Ideal Applications
Bearing seats of pillow block housings.
Valve housings.
Ball joints.
Bearing raceways of outer rings.

| Range Inch | Range mm | Measuring Depth | Order No.
Complete Set* |
Order No. with one
Extension** |
| 0.551–0.787 | 14–20 | 4.33″ | 230-001 | 230-101 |
| 0.787–1.378 | 20–35 | 4.33″ | 230-002 | 230-102 |
| 1.102–1.772 | 28–45 | 5.51″ | 230-003 | 230-103 |
| 1.772–4.138 | 45–105 | 7.09″ | 230-004 | 230-104 |
| 2.953–5.118 | 75–130 | 7.09″ | 230-005 | 230-105 |
| 5.118–11.024 | 130–280 | 9.06″ | 230-006 | 230-106 |
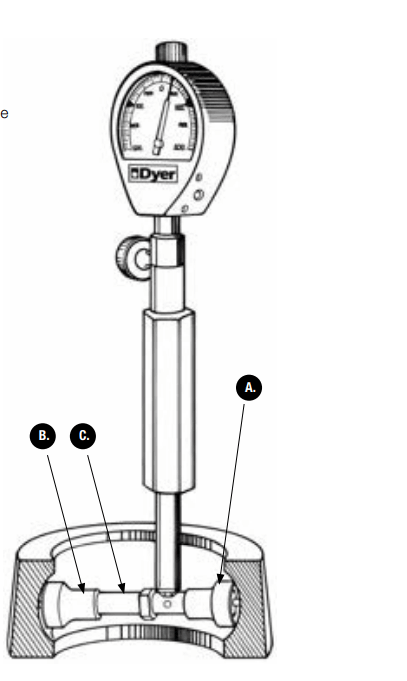
A. Permanently fixed, spring-loaded, centering plate with moveable contact which transmits the measurement to the indicator. Contains a spherical ring segment whose size is determined by the range.
B. Removable, spring-loaded centering plate with fixed contact. This base has a self-centering contact surface with a spherical radius centering base.
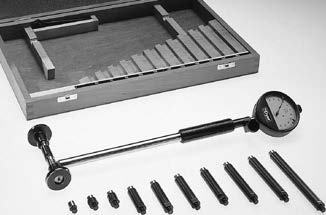
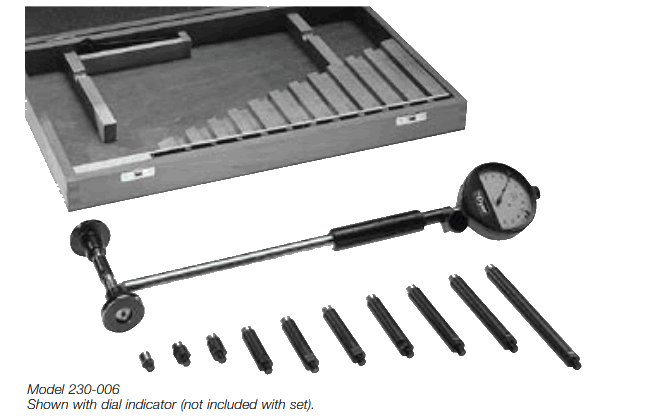
C. Gage includes standard interchangeable range extensions that allow the operator to measure any diameter within the specified gage measuring range.
Gage can also be ordered with one interchangeable range extension to measure a specific diameter.
