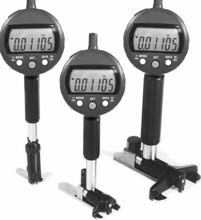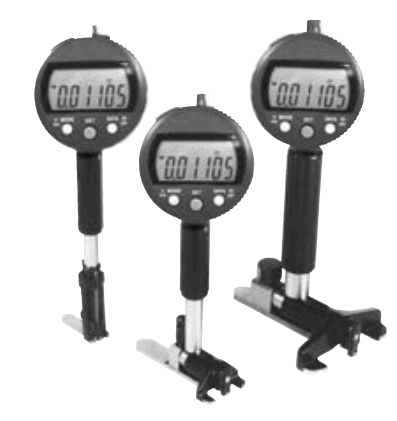
Maximum Measuring Accuracy
Linear ≤ ± 0.000050″ (0.0013 mm)
Repeatability ≤ 0.000040″ (0.001 mm)
Gage R & R ≤10% measuring high
tolerance bores
Notable Features
Accuracy, short measuring height, sliding fixed contact to change the range, gage sets
Measure deviations in form.
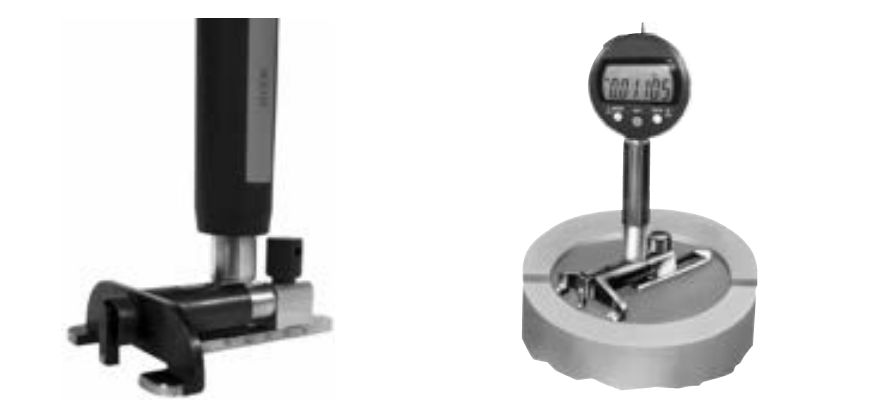
Gage rests flat on bottom blind hole, no tipping.
Many options, ruby contacts, special base, larger ranges; contact us with your application.
Carbide ball contacts standard,ruby optional.
Specials for 90° bores.
Adjustable slide base is ribbed to lock into position.

1. Select gage based on range and “h” dimension
2. Select indicator (dial or digital)
3. Select setting master

Basic Set: Gage (with 8 mm and 3/8″ stem bushings), adjustable sliding contact with carbide ball, movable carbide contact, in box. Order indicator separately
Gage will sit on a flat surface in blind hole or stepped bore, no tipping
Models and Specifications Individual Gages
| Range Inch
Ø |
Range mm
Ø |
Measuring
Depth MT |
Total Length L | Contact Travel
S |
Point of
Contact from bottom h |
Centering
Plate Width ZB |
Tube Diameter
R |
Number of
Measuring Slides |
Order No. |
| 0.787–1.969 | 20–50 | 3.00″ | 6.40″ | 0.059″ | 0.059″ | 0.708″ | 0.394″ | 3 | 271-005 |
| 0.787–1.969 | 20–50 | 3.00″ | 6.40″ | 0.059″ | 0.039″ | 0.708″ | 0.394″ | 3 | 271-010 |
| 0.787–2.362 | 20–60 | 3.00″ | 6.40″ | 0.059″ | 0.059″ | 0.708″ | 0.394″ | 4 | 271-015 |
| 0.787–2.362 | 20–60 | 3.00″ | 6.40″ | 0.059″ | 0.039″ | 0.708″ | 0.394″ | 4 | 271-020 |
| 1.969–4.331 | 50–110 | 2.40″ | 6.40″ | 0.059″ | 0.059″ | 1.33″ | 0.472″ | 2 | 271-025 |
| 1.969–4.331 | 50–110 | 2.40″ | 5.60″ | 0.059″ | 0.039″ | 1.33″ | 0.472″ | 2 | 271-030 |
| 1.969–5.512 | 50–140 | 2.40″ | 5.60″ | 0.059″ | 0.059″ | 1.33″ | 0.472″ | 3 | 271-035 |
| 1.969–5.512 | 50–140 | 2.40″ | 5.60″ | 0.059″ | 0.039″ | 1.33″ | 0.472″ | 3 | 271-040 |
| 4.331–11.811 | 110–300 | 3.50″ | 5.60″ | 0.063″ | 0.079″ | 3.19″ | 0.708″ | 4 | 271-045 |
| 4.331–11.811 | 110–300 | 3.50″ | 6.40″ | 0.063″ | 0.039″ | 3.19″ | 0.708″ | 4 | 271-050 |
| 4.331–15.748 | 110–400 | 3.50″ | 6.40″ | 0.063″ | 0.079″ | 3.19″ | 0.708″ | 6 | 271-055 |
| 4.331–15.748 | 110–400 | 3.50″ | 6.40″ | 0.063″ | 0.039″ | 3.19″ | 0.708″ | 6 | 271-060 |
* Larger ranges available. Contact Dyer office, ruby contacts on inquiry.